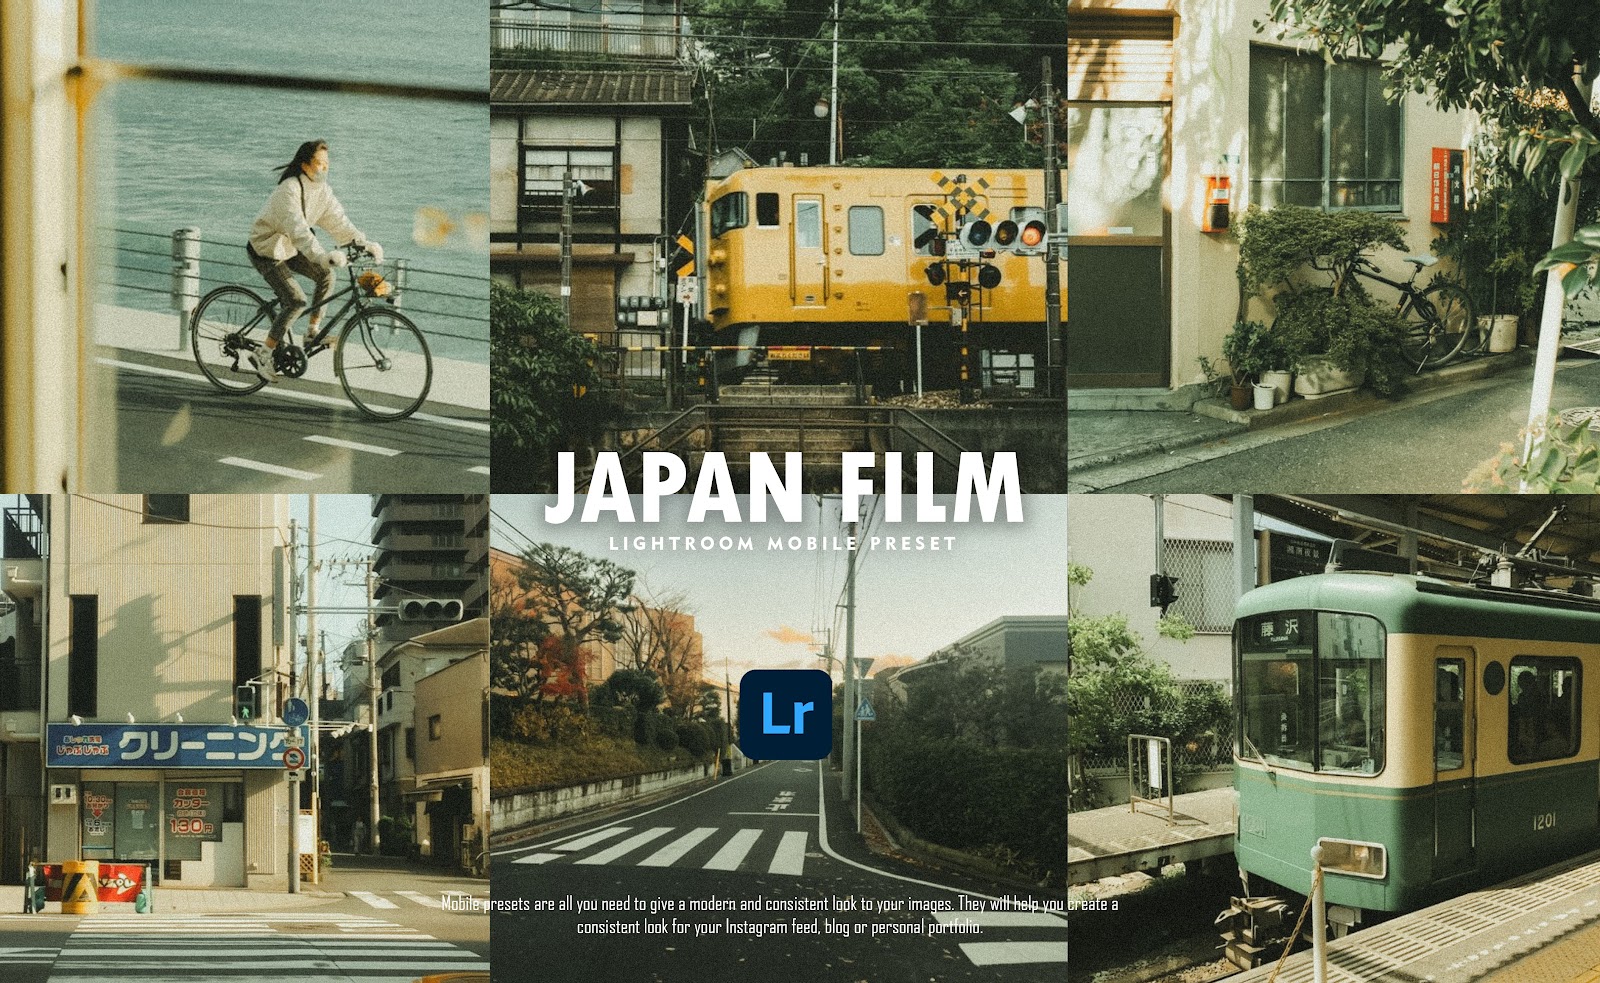
Introducing Japan Film Preset for Lightroom Mobile, your gateway to achieving the timeless and cinematic look of classic Japanese film photography. With just a few taps, transform your digital photos into artistic masterpieces reminiscent of vintage films shot on 35mm cameras. The preset brings out rich tones, soft contrasts, and delicate colors, capturing the essence of nostalgia and giving your images a stunningly authentic feel.Perfect for travel shots, portraits, and street photography, the Japan Film Preset highlights the beauty of everyday moments. It expertly balances light and shadow, creating moody atmospheres with a subtle film grain that adds depth and texture. This preset enhances soft skin tones, gives landscapes a unique warmth, and offers a refined, sophisticated aesthetic for all types of photography.
Whether you're a professional or just starting, the Japan Film Preset elevates your editing process, saving you time while delivering consistent, high-quality results. Bring the elegance and simplicity of Japanese film culture into your photography today and impress your audience with stunning, cinematic visuals.
To create a beautiful preset with consistent results, we test our filters on different pictures. Please keep in mind that every single picture is unique in its own way like the lighting, camera setting, etc., therefore the results of the preset may sometimes differ. This problem can easily be solved by making some small adjustments to your picture so the preset can suit it your desired way.
Try to make some small changes to find the best settings for your image, like need to fix the exposure after applying this preset! because this preset is created without exposure adjustments, you may need to adjust those manually.
Note: This preset is created without exposure/white balance adjustments so you may need to adjust those manually since every photo is different.
Lightroom Mobile offers the advantage of seamless editing across devices (phone/tablet), allowing you to start editing on one device and continue on another. Lightroom Mobile's mobile-first design gives you the advantage of having a robust photo editing studio in your pocket, ensuring you can enhance your images anytime, anywhere.
With its powerful preset system, Lightroom Mobile gives you the upper hand in achieving consistent and professional-quality edits across your photo collection with just a single click. Find other presets that suit your style on my channel to help you gain more traction on social media (Instagram, Facebook, etc.) These presets work with the free Lightroom Mobile App (iOS/Android).
HERE ARE THE STEPS TO IMPORT A DNG PRESET
🤍 Download the DNG Preset: First, make sure you have downloaded this preset before.
🤍 Open Lightroom Mobile: Launch the Lightroom Mobile app on your smartphone or tablet.
🤍 Import the DNG File:
• Tap the '+' icon at the bottom of the screen to open the import options.
• Choose 'From Files' if you downloaded the DNG preset from the internet or 'From Camera Roll' if the DNG preset is in your device's gallery.
🤍 Select the DNG Preset: Navigate to the folder where your DNG preset is located and tap on it to select it.
🤍 Open the DNG in Lightroom: After selecting the DNG preset, Lightroom Mobile will open the file. It will appear as an image.
🤍 Create a Preset: If you haven't created a preset before, you'll need to do this first. To create a preset:
• Tap the '+' icon next to 'Presets'.
• Give your preset a name.
• Choose a group for your preset or create a new group.
• Adjust the settings as per your DNG preset settings.
• Tap the checkmark or 'Save' to create your preset.
🤍 Apply the Preset: With your preset created, it will now be available under the Presets panel. To apply it:
• Scroll through the presets and select the one you just created.
• The preset settings will be applied to your DNG image.
🤍 Fine-tune if Necessary: DNG presets are a great starting point, but you might need to make additional adjustments to suit your specific image. You can tweak settings like exposure, contrast, and color to get the desired look.
Add a new preset to your collection and make stock photos look amazing!
Download: